Tuesday, June 15, 2010

The Wall Comes Down!

The temporary partition in our living room was up for about 6 months. Our little 850 square foot house was reduced to about 450 sf for most of the winter. For the first time we are getting as sense of what the finished house will look and feel like. We had a few friends over to help us remove the remaining studs, share a few drinks and mess up our messy little house..... big day today! Next up on the agenda will be the concrete floors.
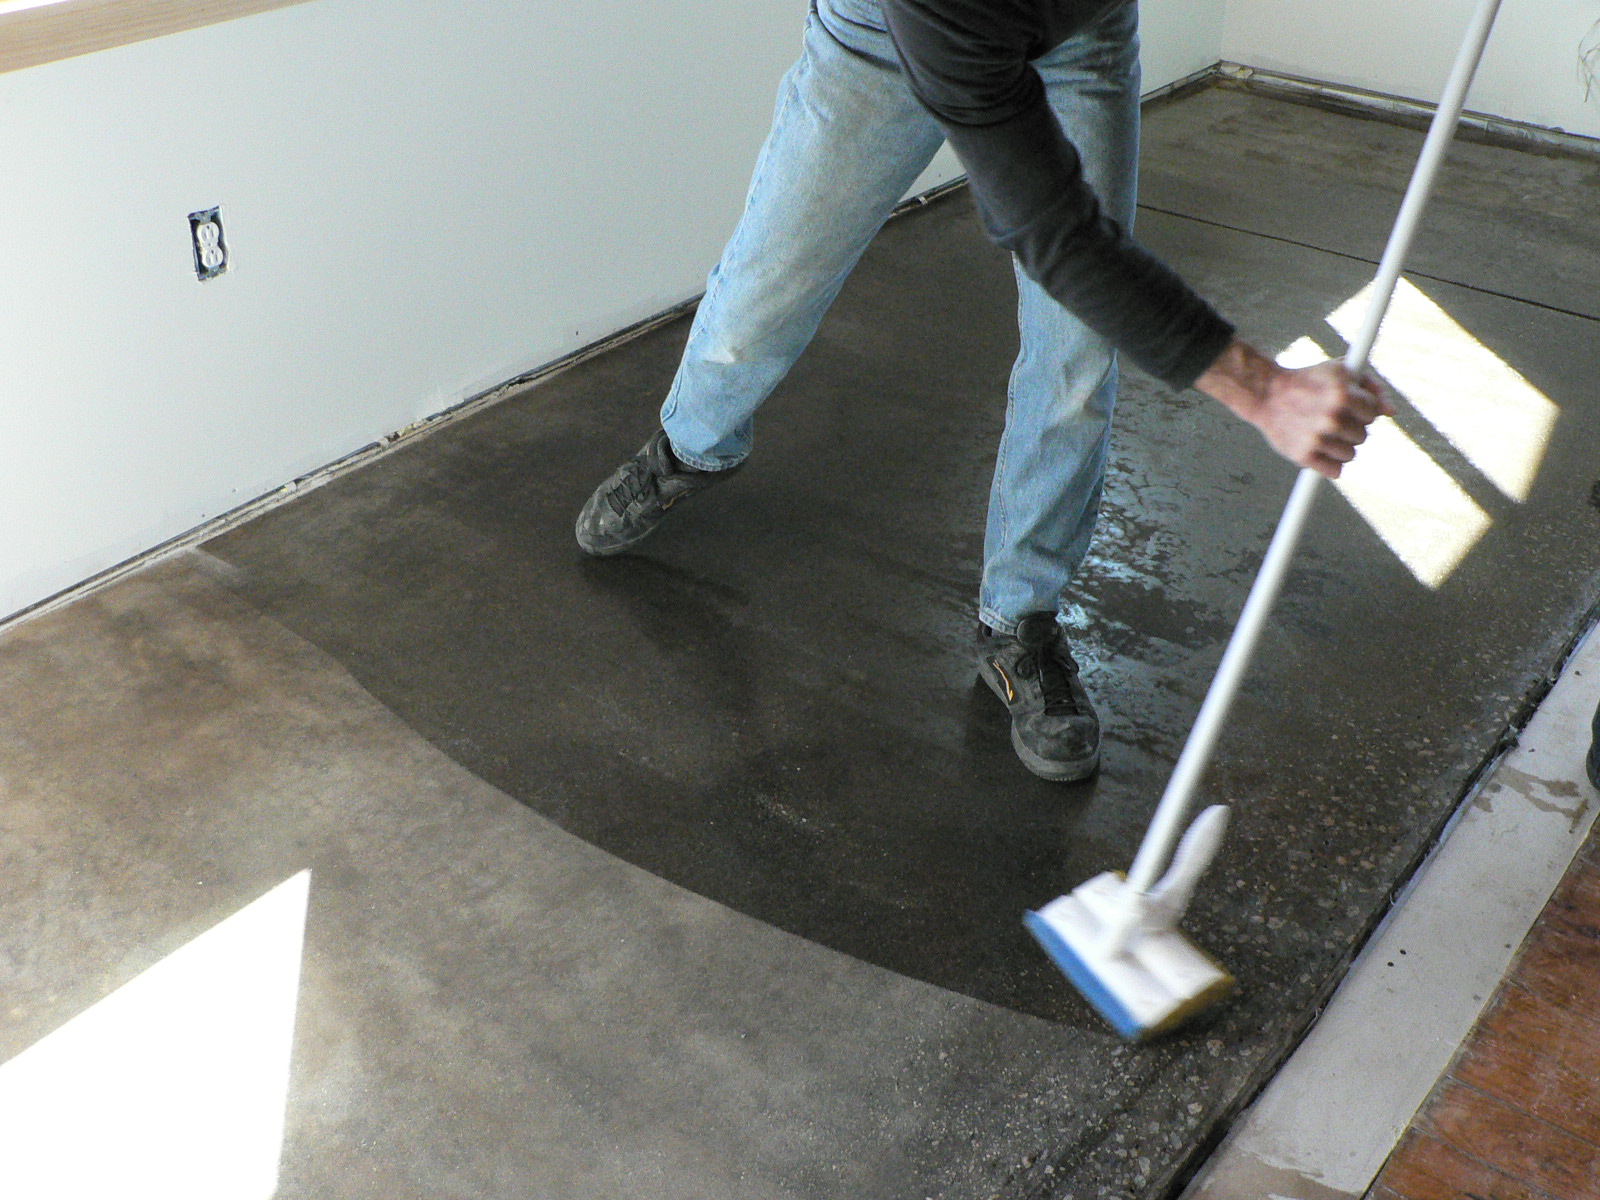

The concrete has to be cleaned several times prior to applying the stain. We are using a black (Ebony) colored acid stain that will be diluted to about 25% of its full strength. We started with a small sample area in the corner to determine this mixture.

Thursday, February 25, 2010

Saturday, January 9, 2010

POURING THE BOX

We poured the wood stove box this past weekend. It was a long overdue event and a great milestone for the project. Never having attempted anything like this, I was nervous to say the least. I consulted everyone from concrete contractors, suppliers, radiant floor specialists, mechanical engineers, a local solar panel rep. and the code official that will ultimately pass or fail me next month. I learned more than I ever anticipated and was once again reminded of how little I know about so many fundamental things we do as designers.

We cast 2 lines of 3/8"
Pex tubing inside the concrete that will distribute water throughout the box. These lines are connected to a larger line set in the radiant floor and will transfer heat from the wood stove to the floor. We want the concrete to absorb heat from the wood stove, but we don't want it to overheat. We will have two thermostats on this part of the system: one on the water as it exits, another on the box itself directly behind the wood stove. These will allow us to monitor the temperature of the water and the concrete. An expansion tank and pressure relief valve will provide relief for the water line. A digital display will provide a readout of the actual concrete temperature.
We rented a mixer to make sure we were consistent and used as little water as possible. To minimize the labor involved, we set up a mini assembly line to get the concrete mixed and in the forms without killing ourselves. I looks a little bit hillbilly, but it sure did make the job easy. Hats off to Monster truck for this one!
It's a pretty narrow form and we worked hard to make sure the piping stayed in place.
We were concerned about the dry mix not penetrating all the reinforcing and piping. We used a 1" dia. vibrator (the smallest we could find) to help us work the mix through. We tried not to over-vibrate the pour but only time will tell.
We drilled a small hole and placed a nail in it to create a cavity for the thermostat.
Later that evening we troweled the edges and covered it up to dry. We plan to leave the forms on for about 10 days. (The concrete will take about 28 days to cure.) This should give us time to complete the framing and bring in the wood stove. As I sit here blogging in my winter coat and stocking cap I dream of firing that thing up!